Showing posts with label scrapbook paper. Show all posts

Monday, January 30, 2012

Flower Petal/ Sunburst on Canvas

Hello all!

Here's my latest project:

It was so simple! It was adapted from ideas I've seen on Pinterest.  First, I sorted through my paper scrap pile and picked several blue patterns that I liked.  Then, I cut them into petal shaped pieces in different sizes.  No need to be precise here, I freehanded everything.  As I was cutting, I loosely sorted the petals into piles by size to make placing them on the canvas:


I also cut a little circle on yellow patterned paper for the center.  Once I cut the pieces, I laid them out on the canvas the way I thought I'd like them:


I then used modge podge to glue down each piece.  I like to leave all the petals on the canvas and glue them one at a time so I have a good feel for the spacing and placement that I'd like, but if you are more free or trust yourself more to place them as you go, by all means, go for it.  Do what is comfortable for you.  I took care to glue the petals that went off the edges of the canvas down to make it look more finished.

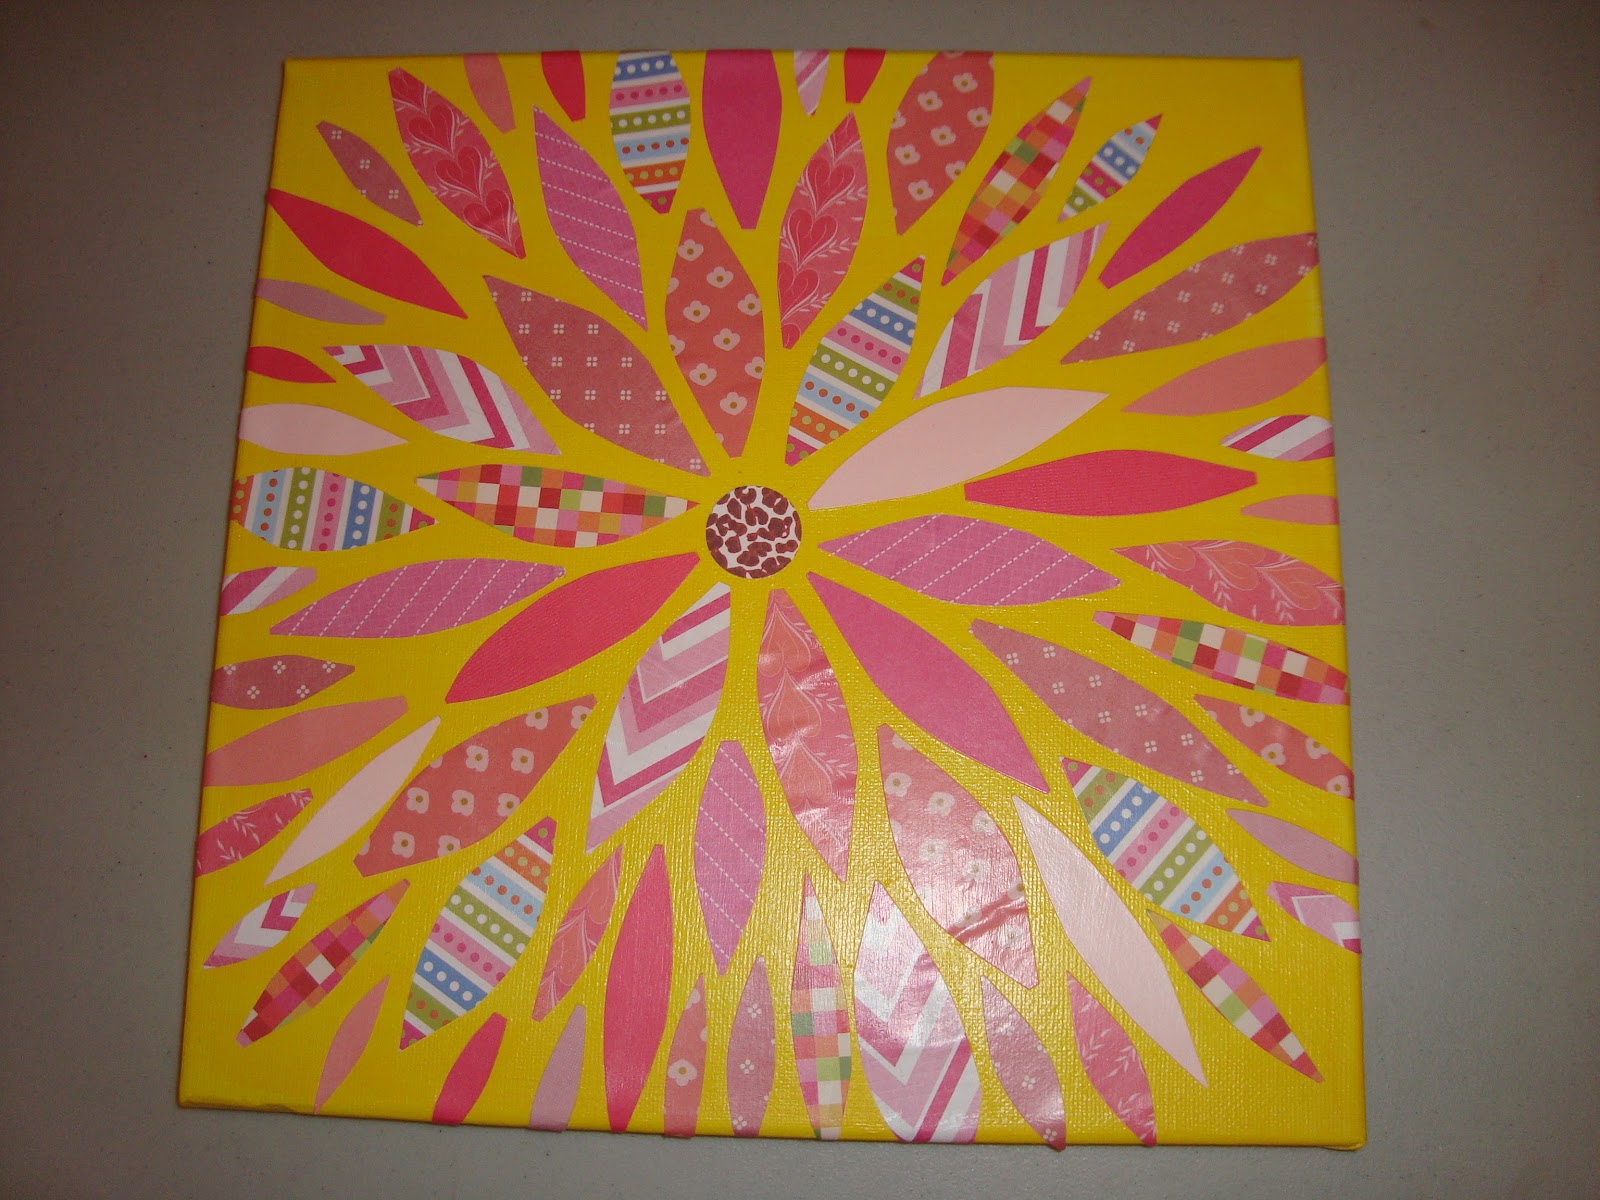
And that's it!  Super simple, and very cheap.  Right up my alley.  I also think this would be adorable in pink patterned paper for a little girl's room or nursery.

**Edited on 6/8/12** I went ahead and made a yellow and pink canvas. It was the same process, but I used a 12x12 canvas and centered the burst. Here are the pictures from my new project:



**Look for these items coming soon to my etsy shop**

(back to original post)
I've been trying to figure out how to finish those one dollar, unfinished wood frames from Michaels for a while now, and here is one design I came up with:


I painted it espresso and cut out a couple flourishes with my cricut.  I put a thin layer of modge podge over the whole frame, and used that as glue to apply the flourishes.  This would look good with a monogram letter instead of a picture, or with several frames with slight variations as a collage on the wall.

Does anyone else have a good idea on how to finish these little frames?

Wednesday, January 18, 2012

Mini Dry Erase Boards

Hello everyone!

One of the things I have made that people seem to really like are these durable, mini dry erase boards, so I figured I would put up with a tutorial with step by step instructions and pictures so you can make your own.  This idea came from two ideas: the dry erase calendars floating all around Pinterest where I learned that glass is dry erasable, and a friend (who is also a teacher) commenting that she wouldn't hang picture frames in her class because they can shatter so easily.  One day, while getting lost at Lowe's, I found these different sized pieces of plastic sheeting.  The smallest size is 8x10, which is the one I get, and it costs about $2 a piece.  The go up greatly in size, with the prices for each piece increasing too.  The best part of this product (besides that its inexpensive) is that its durable! I beat one against my table a few times, and nothing.  Not even a scratch! So I feel comfortable bringing this into my classroom, or giving them as teacher gifts, etc.

Materials needed:
8x10 size plastic sheeting
12x12 piece of scrapbook paper (thin paper works better than cardstock)
Modge podge
Paint brush for modge podge (I catch the foam brushes on sale for 5/10 cents a piece so I can throw them away when I feel lazy)
Glitter (if desired)
Craft knife and cutting mat
Hot glue and hot glue gun
Ribbon or magnets (your choice)


So let's get started! They come with a protective film on both sides, so I just peel both sides off:

On one side, I spread a thin layer of modge podge:

Then you lay the paper face down on the modge podge and smooth it out.  I let it dry for about a minute, and then turn it over.  You will be able to see the pattern through the plastic:


The next step is to trim the excess with a craft knife:


This next step is optional.  I like to put a glitter trim around the edges of the dry erase board.  I free hand it using the same foam brush and modge podge.  I do one side at a time.  A friend at the last craft night suggested I could use double stick tape on the edges and then glitter it, which would certainly make it more precise and potentially easier.  But, I didn't have double stick tape, so I used modge podge:


Almost done.  I cut two pieces of ribbon.  One will become a loop and then other a ribbon to hang the dry erase board.  I hot glue the loop down first, and then the ribbon on top:

And voila! An alternative to hanging it with a bow would be to add magnets to the back so you can stick it to a file cabinet, or just leave it with no magnets or bow if you just want to leave it on or in a desk.

Here are my original ones:


So there you go.  Super easy, takes about 10-15 minutes start to finish, and very inexpensive.  Accounting for all materials used, it cost me about $3.25. 

I'd love to hear about and see any of your ideas for that plastic sheeting, so please share! Good luck and happy crafting!


Sunday, January 15, 2012

A Wedding Gift

These are my second attempt at homemade gifts this year.  Two wedding gifts for a friend whose wedding was last night.  I was inspired by Pinterest for this first one:
It was very simple to make.  I took a 12x12 piece of scrapbook paper for the background.  Then, I used Design Studio to cut a large M for their monogram.  I also cut "the Martin family" and "EST. on their wedding date".  I glued it all on, and done.  I put it in a 12x12 frame, which you can get inexpensively at Michaels (I think this one was about $4).

The second part of her gift was this:

Not the best picture, but I took an 8x18 inch collage frame and matted her wedding invitation.  Then, I used the same paper and matted the open frame at the bottom so she can put a picture from her wedding at the bottom. 

Hopefully she and her husband liked it, and didn't wish I bought them something off the registry instead. : /