Hello all!
Here's my latest project:
It was so simple! It was adapted from ideas I've seen on Pinterest. First, I sorted through my paper scrap pile and picked several blue patterns that I liked. Then, I cut them into petal shaped pieces in different sizes. No need to be precise here, I freehanded everything. As I was cutting, I loosely sorted the petals into piles by size to make placing them on the canvas:
I also cut a little circle on yellow patterned paper for the center. Once I cut the pieces, I laid them out on the canvas the way I thought I'd like them:
I then used modge podge to glue down each piece. I like to leave all the petals on the canvas and glue them one at a time so I have a good feel for the spacing and placement that I'd like, but if you are more free or trust yourself more to place them as you go, by all means, go for it. Do what is comfortable for you. I took care to glue the petals that went off the edges of the canvas down to make it look more finished.
And that's it! Super simple, and very cheap. Right up my alley. I also think this would be adorable in pink patterned paper for a little girl's room or nursery.
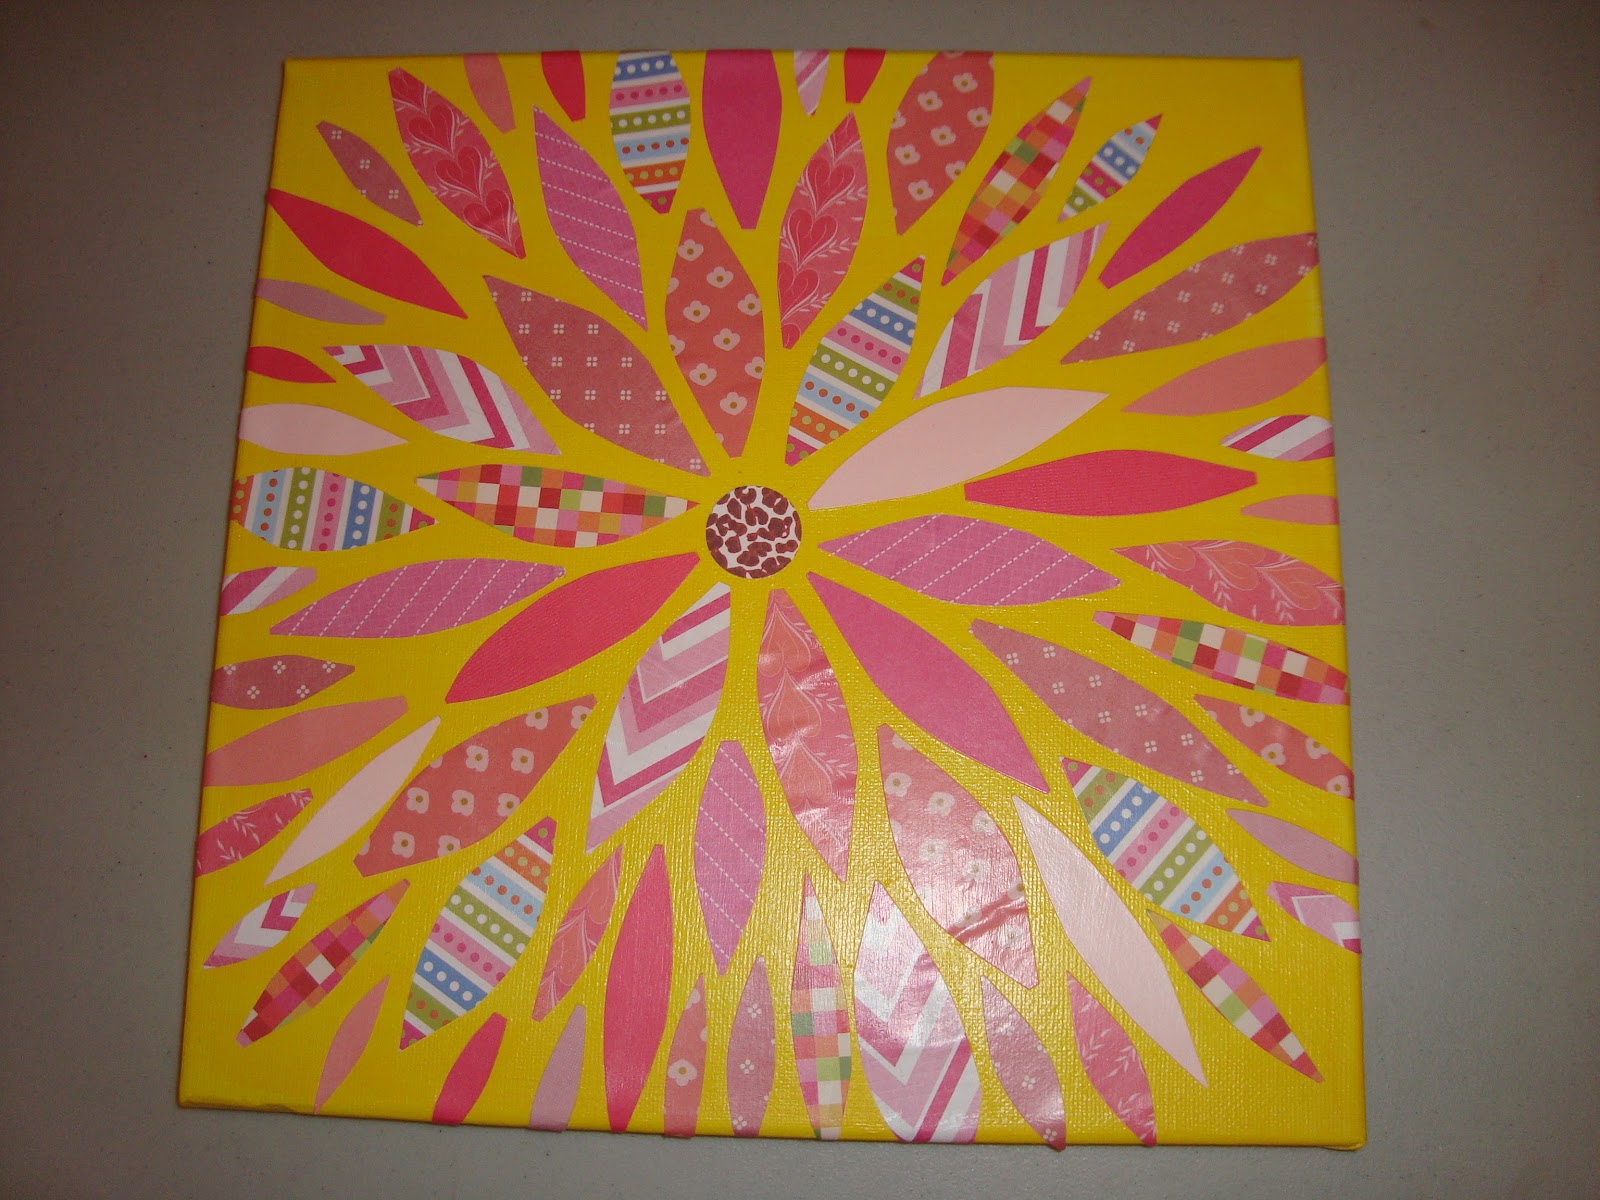
**Edited on 6/8/12** I went ahead and made a yellow and pink canvas. It was the same process, but I used a 12x12 canvas and centered the burst. Here are the pictures from my new project:
**Look for these items coming soon to my etsy shop**
(back to original post)
I've been trying to figure out how to finish those one dollar, unfinished wood frames from Michaels for a while now, and here is one design I came up with:
I painted it espresso and cut out a couple flourishes with my cricut. I put a thin layer of modge podge over the whole frame, and used that as glue to apply the flourishes. This would look good with a monogram letter instead of a picture, or with several frames with slight variations as a collage on the wall.
Does anyone else have a good idea on how to finish these little frames?